This summer I went to a great garage/stamp/craft sale with my crafting partner in crime. While I was wandering about I found this great frame shelf for sale. Loved it! The best part is it was only $10. I figured hey for $10 I'll buy it (totally how I operate) and if it doesn't work well, then I'm only out $10 or I'll find someone who it would work for.

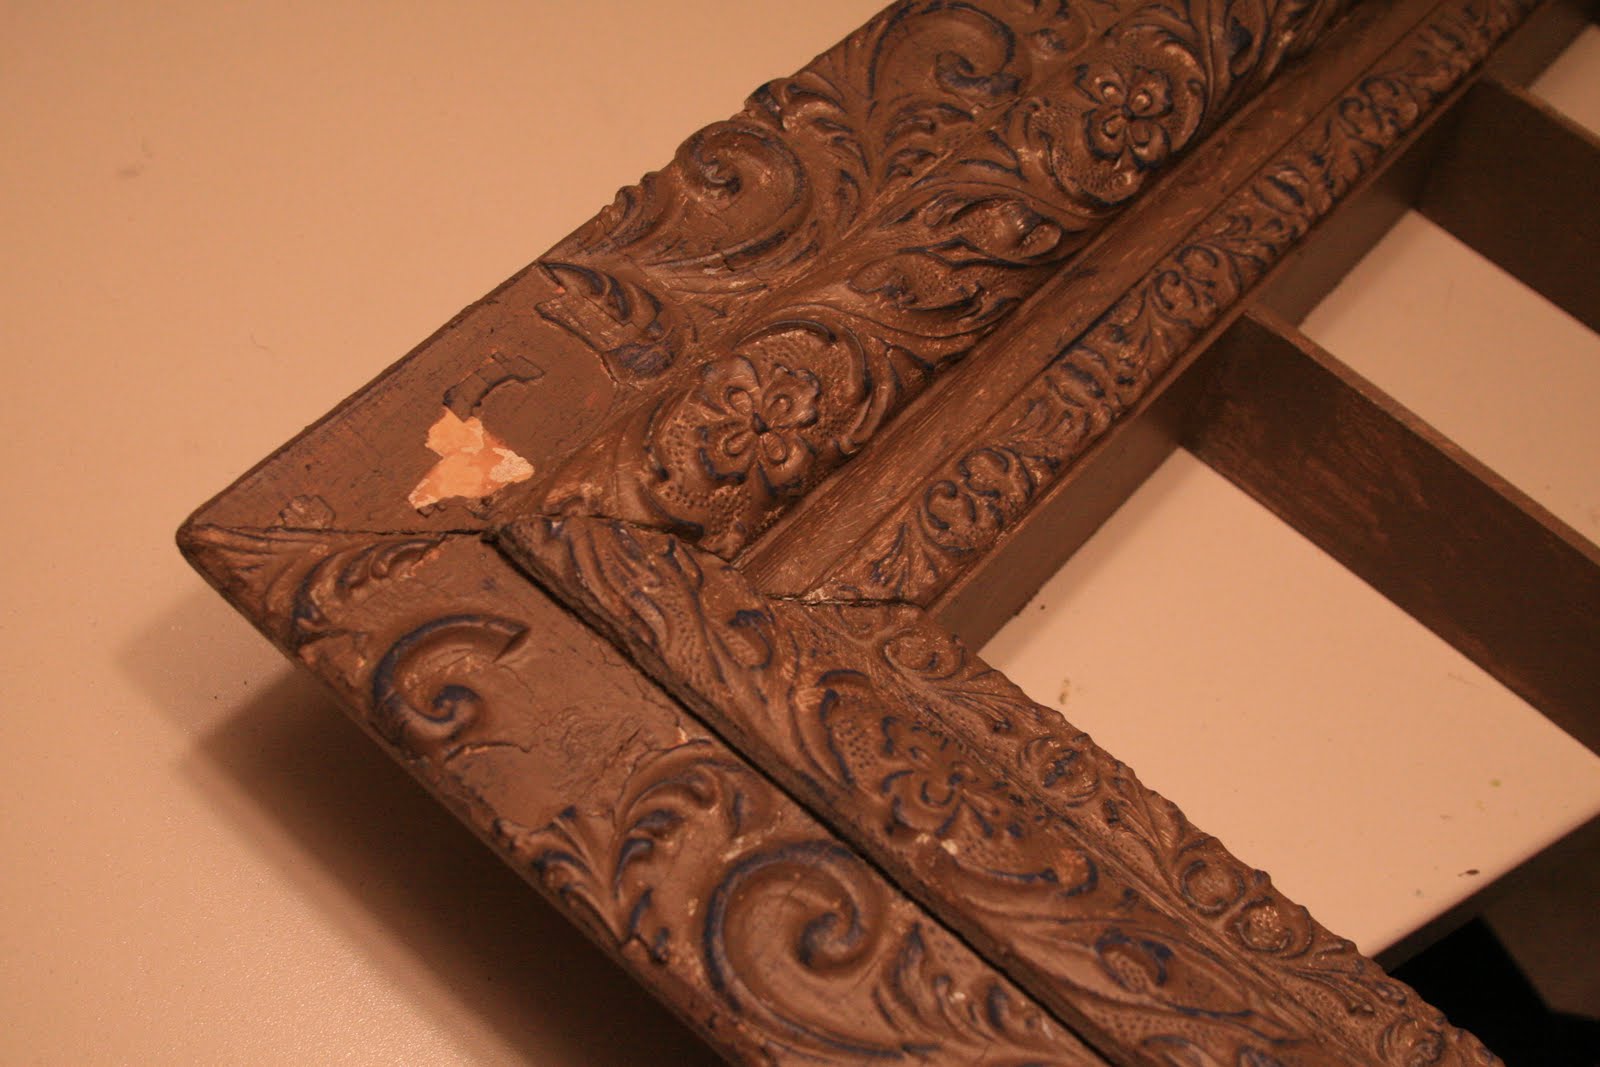
The only issue was the minor damage to the frame. It really wasn't a deal breaker because I knew I was going to paint it anyway and I was pretty sure I could fix it. :)

Oh, I forgot to take a before picture because I was SO excited to work on fixing it. Just use your imagination and you'll be fine.

Although, I would love to claim this trick I can't but I can't remember where I heard it first. I am thinking, Martha, Extreme Home Makeover, or the Create Channel (I do not have cable so we can eliminate the HGTV channel). Anyway, whoever it was had a snazzy cake decorating bag with all kinds of tips that they used and probably used a different type of material. Time for a true confessional: I do not cook nor bake. Nope, I just used my electric skillet for the first time and it was on a craft project. I am a great collector of cookbooks and fancy kitchen things though..... someday, someday.... So, I did not have a cake decorator bag in the house and honestly I didn't want to spend the extra $ on one. I though about the old hole in a baggie trick, but then went to Lowe's. Oh Lowe's. They must of known I was working on this project because they made the perfect product just for ME!
I cut the tip at a fairly wide angle because my repair job detail called for a wider swirl. Then I squeezed it onto the frame (as in the pictures) to replicate the matching piece.

The patch looks really really rough at this point, doesn't it?!

I simply let it dry over night, maybe 2 nights, till it was good and dry. Then I took my Stampin' Up! sanding block (perfect for this project) and sanded off the roughness on the top and smoothed it out. You have to be VERY careful while doing this. Slow and gentle is the name of the game.
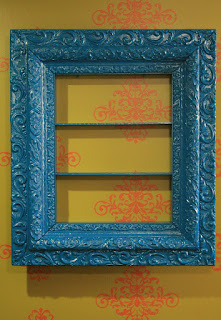
Here it is! Isn't it lovely?! All I did after sanding and blowing the dust off was take it outside and spray paint it. I put several light coats on letting each dry in between.

This is the perfect display for some card examples in my classroom area.

Here is the corner that I "fixed". I feel that it blends in quite well now that it is painted and hung. No one would ever know if I didn't tell them. :)
Pretty good for $10, some spackling, and a can of spray paint! LOVE IT!